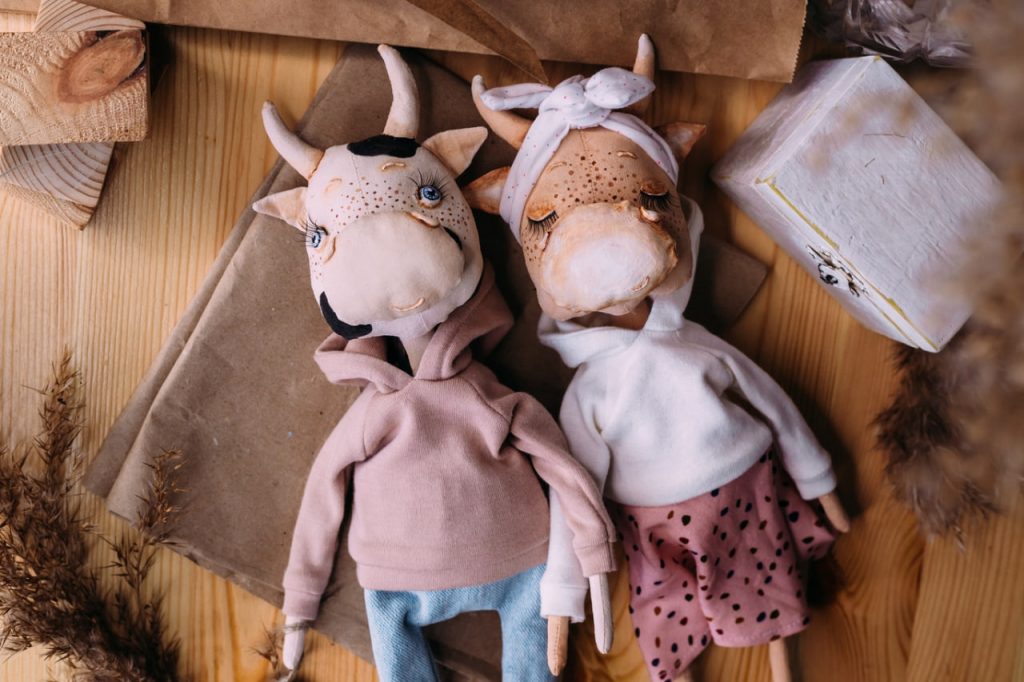
Creating your first textile doll is an exciting journey that combines creativity, craftsmanship, and personal expression. Whether you are new to doll-making or a craft enthusiast looking to explore a new medium, designing a textile doll allows you to bring a unique character to life through fabric, thread, and imagination. This guide will take you through the essential steps to design and create your very first textile doll, from initial concept to final details.
Step 1: Conceptualize Your Doll
Every great doll starts with a strong idea. Before picking up your sewing tools, spend time imagining what your doll will look like and what personality it will have.
- Inspiration: Draw from your favorite stories, nature, people, or even emotions. Think about whether your doll will be whimsical, realistic, fantasy-based, or culturally inspired.
- Sketching: Create simple sketches to visualize your doll’s proportions, features, and clothing. This will help guide your construction process later. Don’t worry about perfection; rough outlines are enough to get started.
- Character Profile: Give your doll a backstory or personality traits. This helps in deciding colors, facial expressions, and accessories that reflect who your doll is.
Step 2: Choose Your Materials
Selecting the right materials is crucial to achieving the look and feel you want for your doll.
- Fabric: Common choices include cotton, linen, felt, or fleece. Consider the texture, color, and durability of each fabric. Natural fibers are often easier to work with and more comfortable to handle.
- Stuffing: Polyester fiberfill is a popular stuffing material for softness and resilience. You can also experiment with wool or cotton stuffing for a more natural feel.
- Thread and Needles: Choose thread colors that match or complement your fabric. Use sharp needles suitable for hand-sewing or machine sewing, depending on your preferred method.
- Additional Materials: Buttons, yarn, embroidery floss, beads, and fabric paints can be used to add facial features, hair, and decorations.
Step 3: Create a Pattern
A pattern is a blueprint that guides the cutting and assembly of your doll.
- Drafting: Based on your sketch, draft the parts of your doll on paper — head, body, arms, legs, and clothing pieces. Keep shapes simple for your first project.
- Testing: Cut your pattern pieces from scrap fabric to check proportions and fit before using your final materials.
- Adjustments: Modify your pattern as needed to improve shape and ease of sewing.
Step 4: Cut and Sew the Pieces
This is where your doll begins to take physical form.
- Cutting: Carefully cut your fabric pieces using your pattern, adding seam allowances.
- Sewing: Sew pieces together inside out to hide seams. Start with smaller parts like arms and legs, then attach them to the body. Use small, neat stitches for durability. If using a sewing machine, practice on scraps first.
- Turning: Turn sewn pieces right-side out gently to maintain shape.
Step 5: Stuff and Shape Your Doll
Stuffing brings softness and dimension to your doll.
- Stuffing: Use small amounts of stuffing at a time to avoid lumps. Shape the limbs and body as you go to create natural curves.
- Firmness: Decide how firm or soft you want your doll. Firmer stuffing holds shape better but can be harder to sew around.
Step 6: Add Facial Features and Hair
The face gives your doll personality and expression.
- Facial Features: Embroider eyes, nose, and mouth using thread or floss. For beginners, simple stitched eyes and a smile work well. You can also use fabric paint or small buttons for eyes.
- Hair: Attach yarn, wool, or fabric strips for hair. You can sew, glue, or knot the hair onto the head, depending on the style you want.
Step 7: Design and Attach Clothing and Accessories
Clothing completes your doll’s look and adds to its character.
- Patterns and Sewing: Use simple patterns for dresses, pants, or hats. Lightweight fabrics work best for tiny garments.
- Details: Add buttons, ribbons, lace, or embroidery for decoration.
- Attachment: Sew or velcro clothing pieces onto your doll, or make them removable for play.
Step 8: Final Touches and Personalization
Add finishing touches that make your doll truly one-of-a-kind.
- Embellishments: Consider adding freckles, blush with fabric-safe paint, or tiny accessories like glasses or scarves.
- Sturdiness: Double-check seams and attachments for strength, especially if the doll is intended for children.
- Display or Play: Decide whether your doll will be a keepsake or a playmate, and package or present it accordingly.

